Summary
This free AI image sharpener sharpens soft photos directly in your browser, with no upload and no signup. It uses a classic unsharp mask: it finds edges by blurring a copy of your image, then boosts them with three sliders, amount, radius and threshold. A before and after slider, an edge score and a clipping warning show whether you have gone too far. It sharpens slightly soft photos, not missed focus.
AI Image Sharpener: Fix Soft Photos in Your Browser
Load a photo, drag three sliders, and see the before and after live. It runs on your device, so nothing is uploaded. Honest label: it is a classic unsharp mask, not a generative model.
What the three sliders actually do
Amount is how hard edges are pushed
The tool blurs a copy of your photo, subtracts it from the original to find the edges, and adds a multiple of that difference back. Amount is the multiple. At 100% you add the edge detail once, at 200% twice. Past about 200% most photos start to look crunchy.
Radius decides how wide the edge boost is
Radius is the size of the blur, in pixels of the photo you loaded. A small radius, around 0.8 to 1.5 px, tightens fine detail like fabric and text. A large radius adds punch to bigger shapes but draws visible halos around high-contrast outlines.
Threshold protects flat areas and grain
Differences smaller than the threshold are left alone. Set it to 0 and every speck of noise is sharpened along with the edges. Set it to 3 or 4 and clear skies, skin and studio backdrops stay smooth while real edges still sharpen.
How to sharpen a photo in four moves
-
1
Load a photo or the sample
Choose a JPG, PNG or WebP from your device, or click the sample, a deliberately blurred test scene. The file stays in your browser.
-
2
Pick a starting point
Web and social suits feed images. Product listing is firmer. Soft-focus rescue is the ceiling, and it will show halos on most photos.
-
3
Compare at full size
Drag the divider, then zoom your browser to 100% and look at the edges. Bright outlines around dark shapes mean the amount or radius is too high.
-
4
Download in the right format
PNG keeps every pixel. JPEG and WebP give smaller files for a web upload. Sharpen after cropping and resizing, not before.
A soft mug shot is fixable. A missed focus is not.
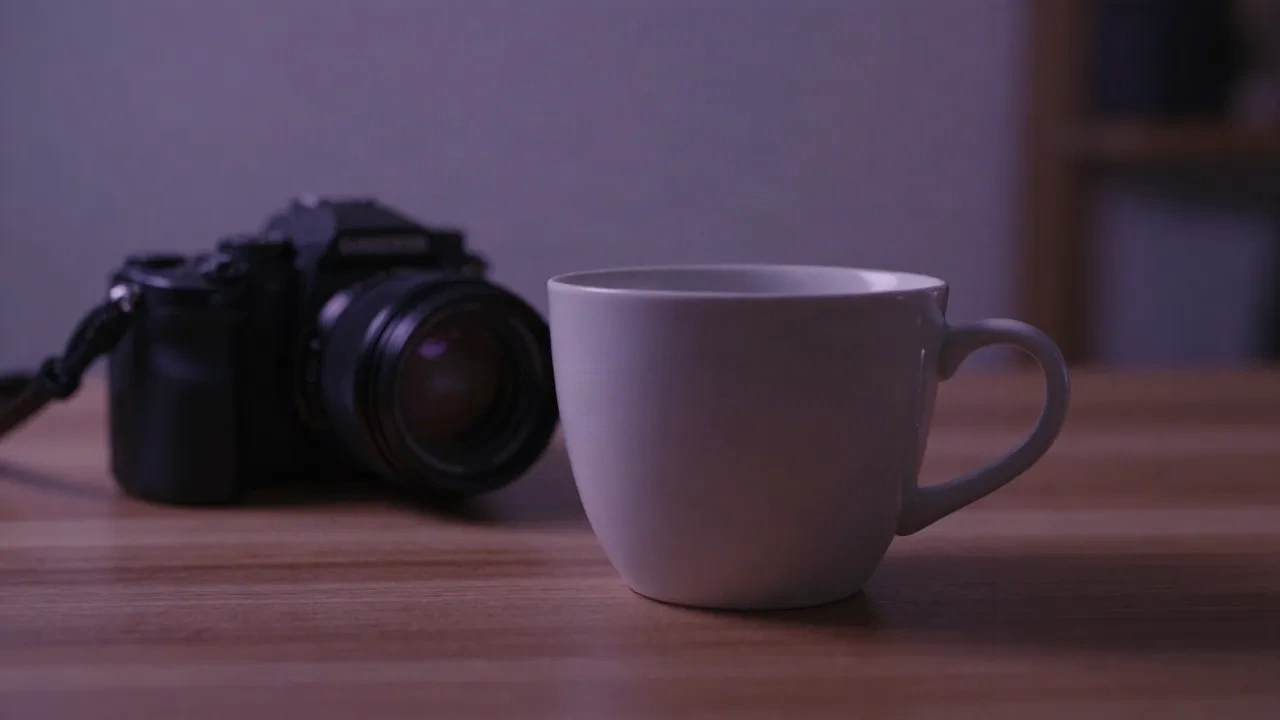
Sharpening works best on photos that are almost right: a product shot resized down for a listing, a phone photo with a touch of softness, an export that lost bite after compression. In those cases the edges are still in the file and the filter only needs to make them read. The result is a photo that survives the scroll. It cannot repair a photo where the focus landed on the wrong plane, or where the subject moved. The mug above is soft because the lens focused elsewhere. No slider brings that back, and pushing them hard only produces a glow around every edge.
- Works on: slight softness, resized images, compressed exports
- Coin flip: noisy low-light shots, raise the threshold first
- Does not work on: missed focus, motion blur, heavy JPEG artifacts
Questions people ask before sharpening
Is this AI image sharpener really AI?
Is my photo uploaded anywhere?
Is it free, and are there limits?
Can it fix a photo that is properly out of focus or has motion blur?
Which settings should I use for a product listing?
What does the edge score mean?
Why does sharpening make noise and grain worse?
Does it change the colors of my photo?
Need more than sharpening on your photos?
Photo Spells applies one-click transformations to a photo: season swaps, style changes, scene shifts. Start free with 10 spells a month.