Product Photography Setup: A One-Table Layout That Works
Summary
A good product photography setup fits on one table: one large soft light at 45 degrees, a white reflector opposite, a seamless paper sweep and a tripod-locked camera. Tape every position so each shoot matches the last. Pick window light for small batches and an LED panel when consistency across weeks matters. Use AI editing after the shoot, not instead of it, because clean capture gives any tool better material to work with.
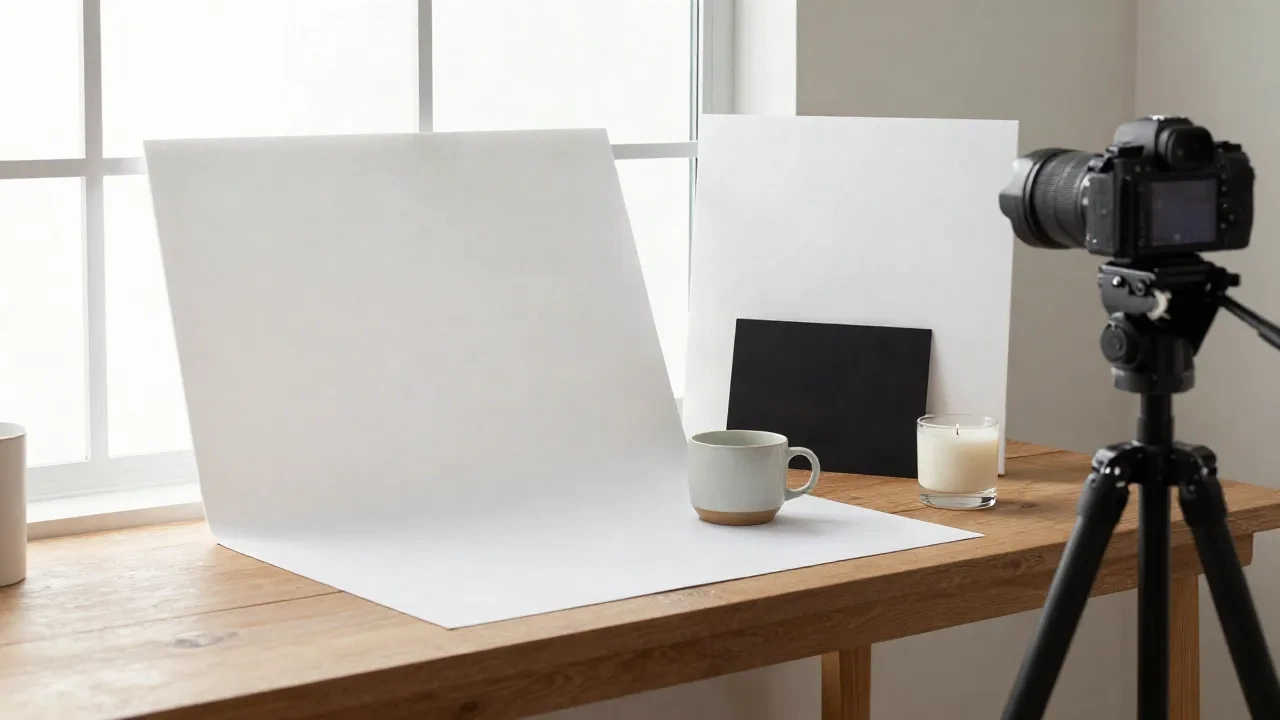
A good product photography setup fits on one table: a window or one soft light at 45 degrees, a white card opposite it, a seamless paper sweep, and a camera locked on a tripod. That is the whole kit. Build it once, mark the positions with tape, and every product you shoot afterwards looks like it belongs to the same store. The rest of this guide is about placement, because placement is where most home setups quietly fail.
What does a working product photography setup actually contain?
Five things, in this order of importance: a large soft light, something to bounce it back, a clean surface, a stable camera, and a fixed spot for all of them.
The light matters most. Large and soft beats bright and small. A window with a thin white sheet over it, or a single LED panel shot through a diffuser, gives the gradual shadows that make a mug look like a mug instead of a flat sticker.
The bounce is a sheet of white foam board, roughly A3 or larger. The surface is a roll or sheet of seamless paper that curves from the table up the wall, so there is no hard line behind the product. The camera can be a phone. A tripod is not optional, because a locked frame is what makes a catalogue look consistent.
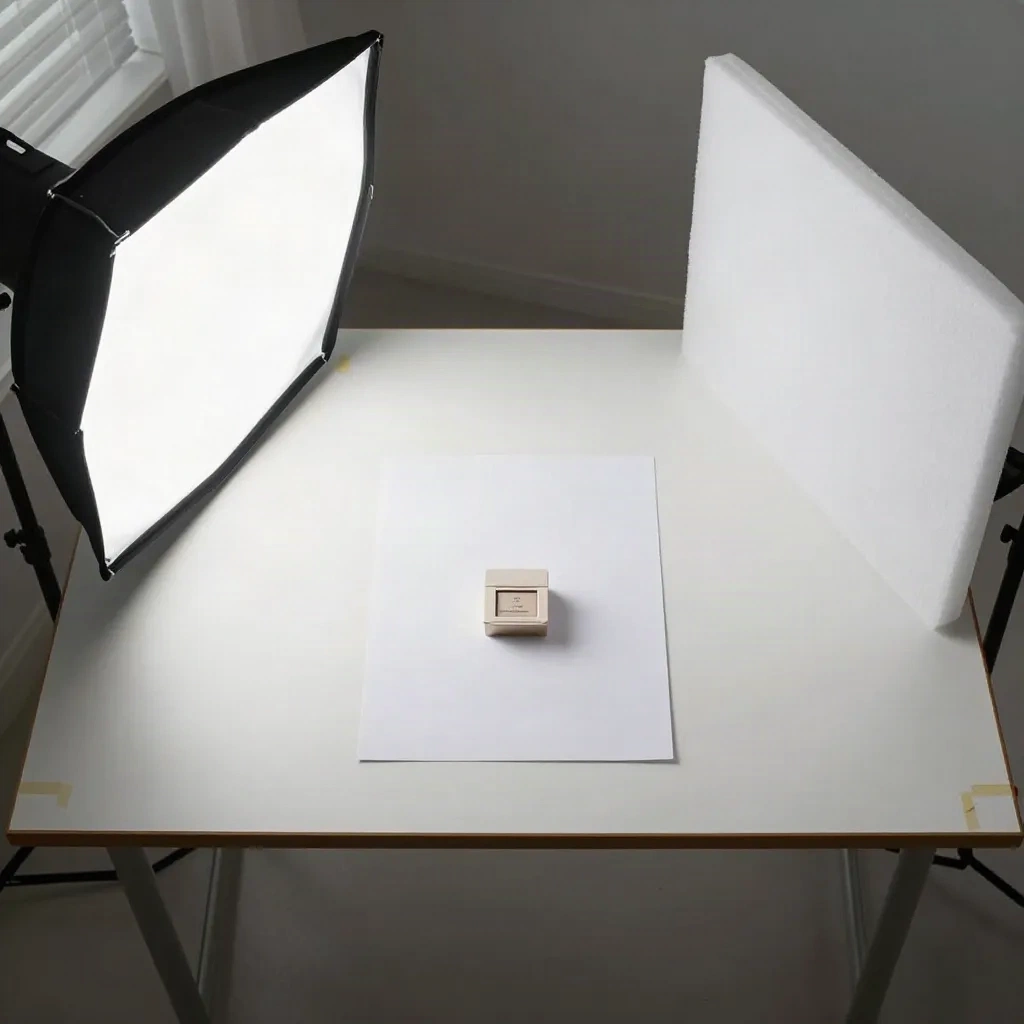
Skip the 40-piece "starter studio" bundles. Most of what ships in them (colored backdrops, tiny clamps, a second light you will never aim properly) adds decisions without adding quality. Cast the budget at three things instead: a diffuser, a reflector, a tripod.
Where should the light sit, and how far from the product?
Put the key light at roughly 45 degrees to one side of the product and slightly above it, then place a white reflector on the opposite side. This is the standard single-light layout, and Format's product photography setup guide describes the same geometry: key light at 45 degrees, white card across from it to fill the shadow side.
Distance changes softness. The closer the light is to the product, the larger it is relative to the subject, and the softer the shadow edge becomes. Pull it back and the shadows tighten and get harder. So if your shadows look sharp, do not buy a new light. Move the one you have closer, or diffuse it more.
Two rules cover most situations:
Shadows too dark on the far side? Slide the white card closer to the product. A closer card gives a stronger fill, a farther one keeps shadows more defined.
White product disappearing into a white background? Add a black card to the side or behind it. It deepens the edge so the outline reads.
Works best on: matte and semi-matte products such as ceramics, candles, textiles, packaged goods. Coins, glossy tins and anything mirror-like need a different approach, covered below.
Window light or a lamp: which one should you start with?
Start with the window if you have one that does not get direct sun at your shooting time. A north-facing window gives gentle, even light, and Shopify's natural light guide recommends draping a thin white sheet over the frame to soften harsher light. Natural light also renders color and texture accurately, which cuts down on returns caused by "it looked different in the photo".
The cost of window light is consistency. It shifts through the day and disappears in November. If you list five products on a Sunday morning, it is fine. If you shoot 40 SKUs over three weeks, the first and last photos will not match.
That is when a continuous LED panel earns its place. It gives you the same light at 9 a.m. and 9 p.m., and you can fix exposure settings once. Buy one with a high color rendering rating, put it through a diffuser, and treat it as the window you control.
Skip it if you shoot a handful of items a month. Use the window.
How do you position the camera so every photo matches?
Fix three numbers and write them on tape next to the tripod: camera height, distance to the product, and focal length (or zoom level on a phone).
For most small products, a lens height slightly above the product's midpoint gives a natural, slightly elevated view. Flat-lay products such as prints, cards and textiles go straight overhead instead. Decide which family each product belongs to and never mix them inside one store collection.
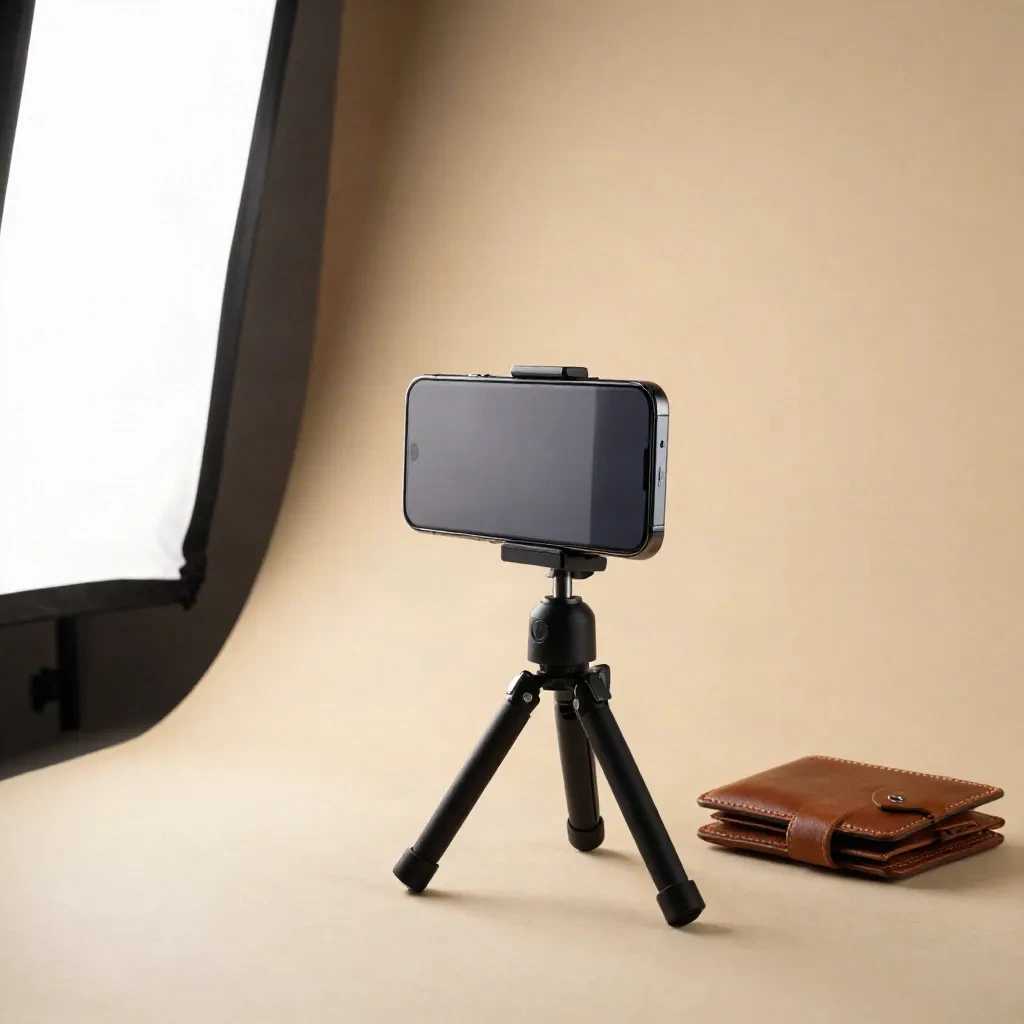
On a dedicated camera, a starting point is ISO 100 and an aperture between f/8 and f/11, which keeps the whole product sharp. Adjust shutter speed for exposure, shoot RAW if you have the option, and set white balance manually or from a gray card so it does not drift between frames. On a phone, lock exposure and focus by tapping and holding on the product, and use the timer so touching the screen does not shake the frame.
In practice, this step takes about two minutes the first time and zero minutes after, because the tape marks do the work.
Which setup works for which product?
The base layout stays the same. Only the modifiers change.
Matte goods (mugs, candles, bags, clothing flat-lays). The single-light, single-reflector layout above is enough. Add a second white card on the camera side if the front looks flat.
Glossy and glass (bottles, jewelry, tins). The problem is reflection, not shadow. Use a large soft source at an angle, and place white cards around the product so the reflections it picks up are clean, even shapes rather than a window frame or your own silhouette. A black card at one edge gives glass a defined outline.
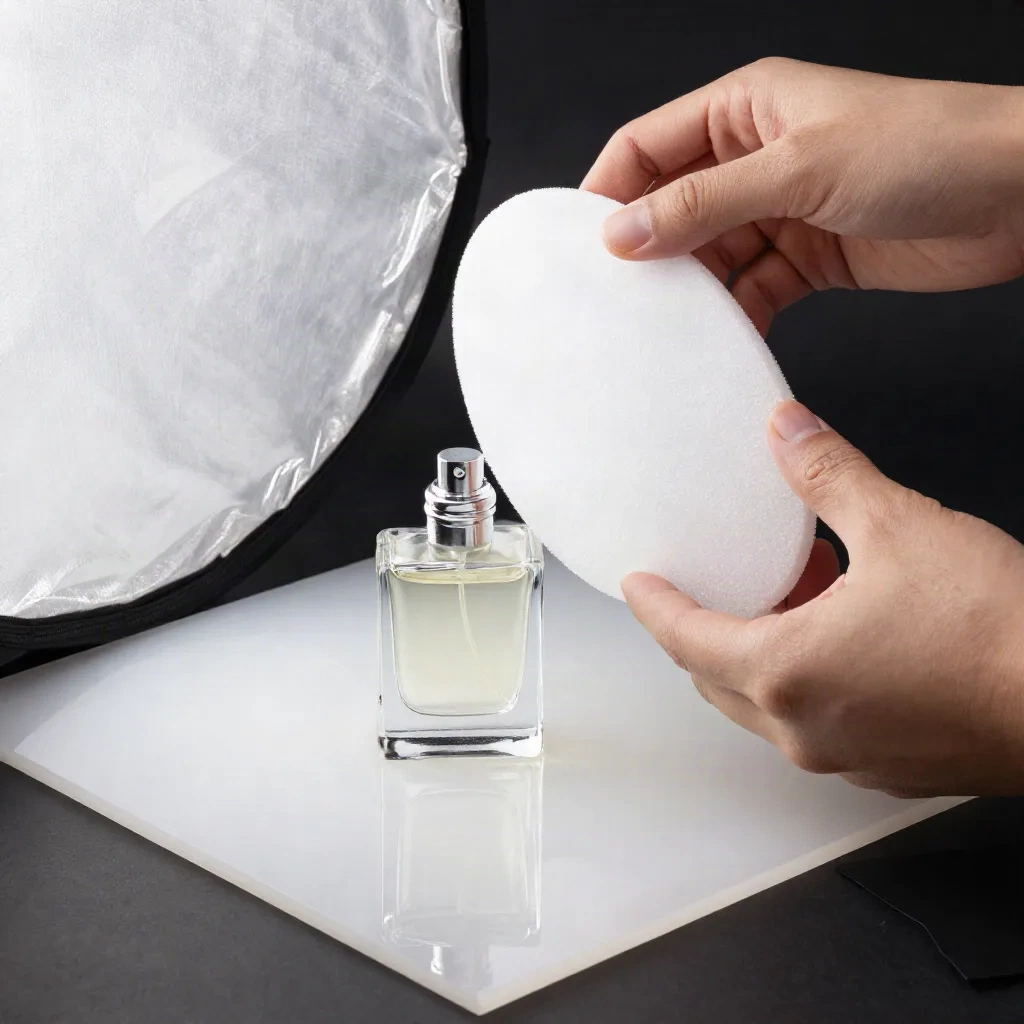
Very small items (rings, earrings, buttons). A tabletop light tent can work, and it is the one case where the cheap kit makes sense. Be honest about its limits though: a tent flattens light by design. Great for clean, catalogue-style packshots, less so for mood.
Large items (furniture, rugs). You will outgrow a table. Move the layout to the floor near the biggest window you have, keep the same 45 degree logic, and increase the distance to the subject.
For apparel, two large softboxes on stands, one on each side at roughly 45 degrees, give an even result on fabric. That is the point where a second light starts to be worth it.
What does it cost, and what can you skip? Here is a realistic split for a seller starting from nothing, in three tiers.
Window-only: white foam board, seamless paper, a small phone tripod. Use it under 20 products a month with no deadline.
Single LED: add a diffusing panel or softbox and a stand. Use it when you shoot over several weeks and need matching light.
Two-light: add a second softbox and a gray card. Use it for apparel, larger catalogues and a consistent brand look.
The window-only tier costs a fraction of a lightbox kit and gives a more natural result. The two-light tier is only worth buying once the single light has become the bottleneck, not before.
Skip the colored backdrop packs. White or a single neutral tone keeps your listing grid coherent, and it keeps your options open when a marketplace asks for a white background.
Where does AI belong in a product photography setup?
After the shoot, not instead of it. A clean physical capture gives any editing tool better material, and no tool fully rescues a photo with blown highlights or a crooked frame.
The useful AI steps are narrow ones: fixing a background that did not come out pure white, swapping a plain sweep for a lifestyle scene, or refreshing a listing for a new season without a reshoot. That is what a background-swap pass in Photospells is for. It works best on photos with clean edges and consistent lighting, which is exactly what a fixed setup gives you. It struggles with products with transparent or very fine edges, such as glass stems or hair-thin chains, where the cutout can look rough and needs a manual check.
If your problem is the opposite, hundreds of SKUs and no time to build sets, a dedicated platform is a different tool for a different job.
Klayn turns a single product photo into a styled shoot with consistent virtual sets across a whole collection. It sits further toward professional e-commerce workflows than a lightweight one-click edit, and it is worth a look when consistency across a large catalogue is the real constraint.
What mistakes ruin an otherwise good setup?
Four come up again and again.
Mixed light sources. A window plus a warm ceiling lamp gives two color temperatures in one frame. Turn the room lights off.
Moving things between shots. If the tripod, the card or the product spot shifts, your catalogue stops matching. Tape the floor.
Shooting on a dirty sweep. Dust and creases show up as texture. Replace the paper section when it marks.
Over-editing to compensate. Pushing the whites to hide a gray background costs detail on the product. Fix the light first, then adjust.
One more, specific to marketplaces: check the image rules for where you list. Many ask for a pure white background and a product filling most of the frame, so shoot with that crop in mind.
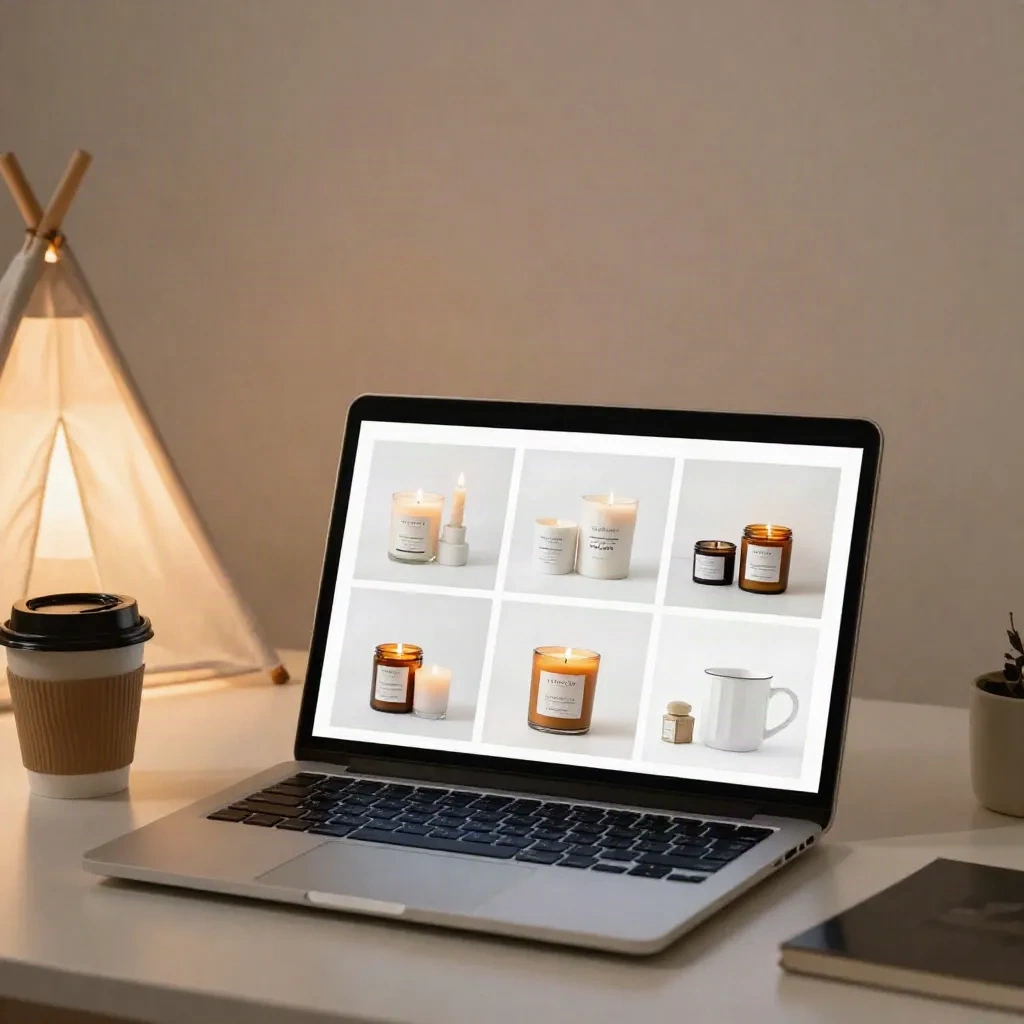
Plugging the setup into your store. Treat the setup as a repeatable process, not a one-off. Photograph products in batches, keep a naming convention, and review the grid view of your store before publishing, because that is how customers first see you.
If you sell on Shopify, the photos you produce here plug straight into your product pages, and consistent framing pays off in the collection grid.
If you are building a store from scratch, a platform with built-in AI tooling for descriptions and SEO keeps the writing side moving while you handle the photography.
What would we actually set up first?
If you are starting this week: pick the window, hang a thin sheet over it, stand a white foam board opposite, tape the table, lock the tripod, and shoot your five best sellers. Judge the grid. Only then decide whether a light or a second reflector solves a problem you can actually see.
Do not buy for the studio you imagine. Buy for the shadow you are looking at.