Product Photography Lighting: The Setup That Converts
Summary
Product photography lighting determines whether your listing gets scrolled past or clicked. The difference between a flat photo and one that stops a buyer is not expensive equipment. It is understanding where to place a key light, how to fill shadows, and when to use a softbox versus an LED panel. This guide covers practical setups for Etsy sellers and Shopify store owners, plus the cases where AI transformation handles what the camera could not.
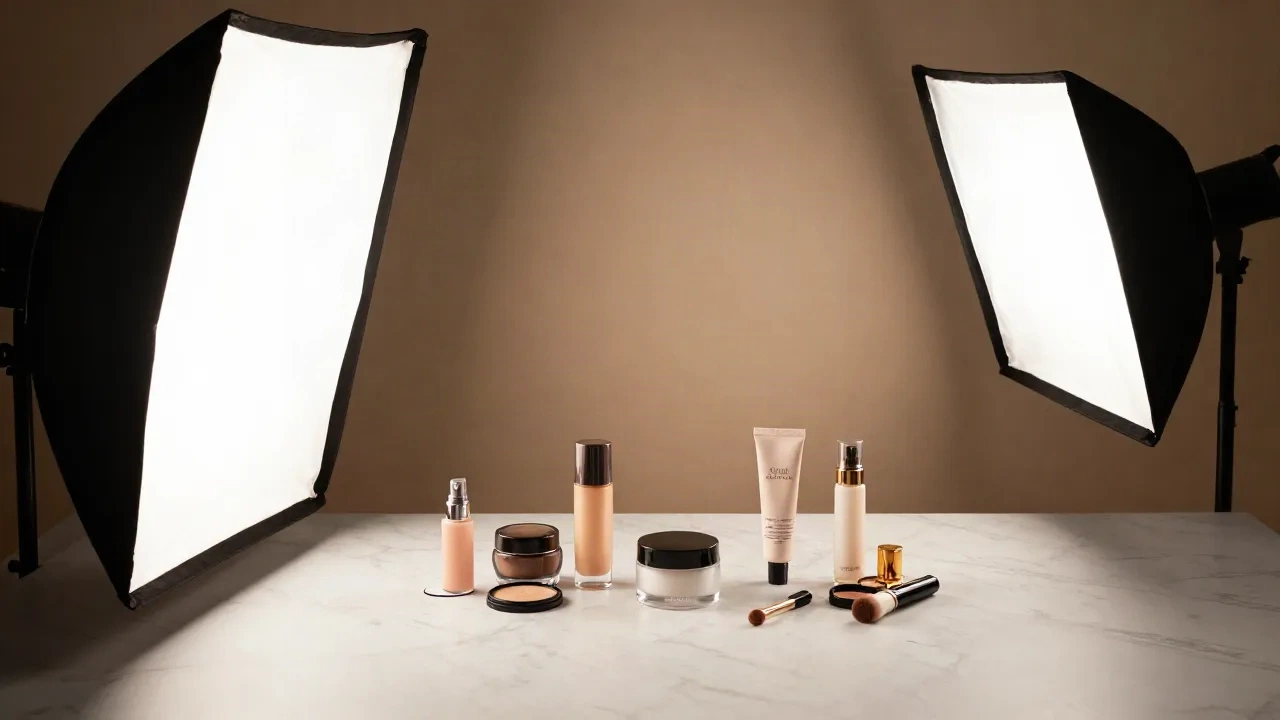
Product photography lighting is the single variable that separates a listing that converts from one that does not. Buyers cannot touch, smell, or hold what you are selling. What they have is your photo. If your current setup produces flat, color-shifted, or shadow-heavy shots, no amount of compelling copy recovers the lost sale. This guide covers what actually works on a real desk or dining table, what common setups miss, and where AI transformation fits in after the shoot.
Why your current lighting is costing you sales
Most product photos fail for the same reason: a single light source positioned directly above or in front of the subject. That arrangement washes out texture, flattens depth, and makes the product look like a screenshot rather than something worth buying.
Product pages with professional-quality photos see conversion rates up to 94% higher than those with lower-quality images, according to conversion analysis from Capturly. The gap is not about camera bodies. It is almost always about light placement.
The second failure mode is color accuracy. When the color temperature of your light does not match the white balance setting on your camera, what looks neutral on your phone lands as yellow-green on a buyer's calibrated monitor. That shift is one of the most cited reasons for returns in clothing and cosmetics. A buyer receives an item that does not match what the photo showed. That is a lighting problem, not a product problem.
Getting the light right before the shoot is not optional. Trying to correct a bad color cast across 60 product images in post-production is possible, slow, and produces inconsistent results batch to batch.
Natural light vs. artificial: the real tradeoff
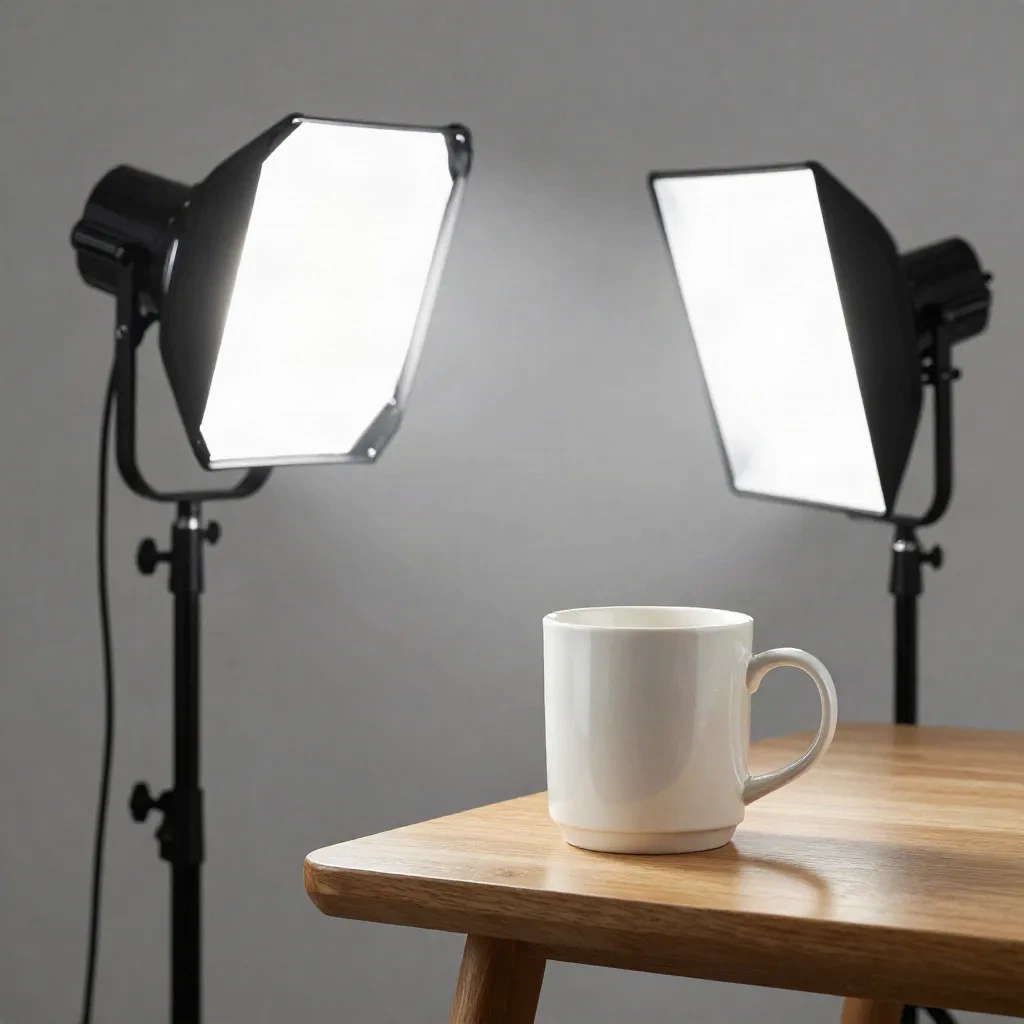
Natural light from a large, north-facing window is genuinely good for product photography. It is diffused, directional, and free. The problem is consistency: natural light changes by the hour, by the season, and by the weather. That variability is manageable at five product shoots a month. It becomes a production problem at 40 or more photos per session.
When building a storefront with dozens of listings, inconsistency creates visible mismatches in the grid. Products shot at 9am look different from those shot at 3pm. Summer candle photos do not match autumn ones. Each inconsistency adds correction time in post and reduces the cohesion of the listing page.
Artificial light solves the consistency problem. A continuous LED set to a fixed color temperature produces the same output at 7am in November as it does at 3pm in July. For any seller operating at volume, that repeatability is worth more than the marginal quality advantage of perfect window light on a clear afternoon.
For most Etsy and Shopify sellers, the right range for product photography lighting is 5000K to 5500K. That zone mimics overcast daylight, renders most product colors accurately, and reads as neutral across the widest range of display types. Warmer than 5000K starts shifting whites toward cream. Cooler than 5600K begins to read as clinical on organic materials like ceramics, food, and textiles.
The three-light setup that handles most product categories
Three-point lighting is not a studio luxury. You can run it on a desk with under $150 in gear.
Key light: your primary source, positioned at roughly 45 degrees to the side and slightly above the product. This creates the main illumination and defines the object's shape. A 45cm softbox handles products up to about 40cm wide without creating hotspots.
Fill light: on the opposite side from the key, at roughly half the output. Its job is to reduce the shadow cast by the key without eliminating it entirely. Without fill, shadows go too deep and the product loses detail in dark areas. A white foam reflector board priced under $5 works as a fill without requiring a second powered light.
Rim or backlight: positioned behind and slightly above the product, this separates the subject from the background and adds a subtle highlight on the object's edges. It is optional but makes a visible difference on products with defined outlines, like bottles, tools, shoes, or packaged goods.
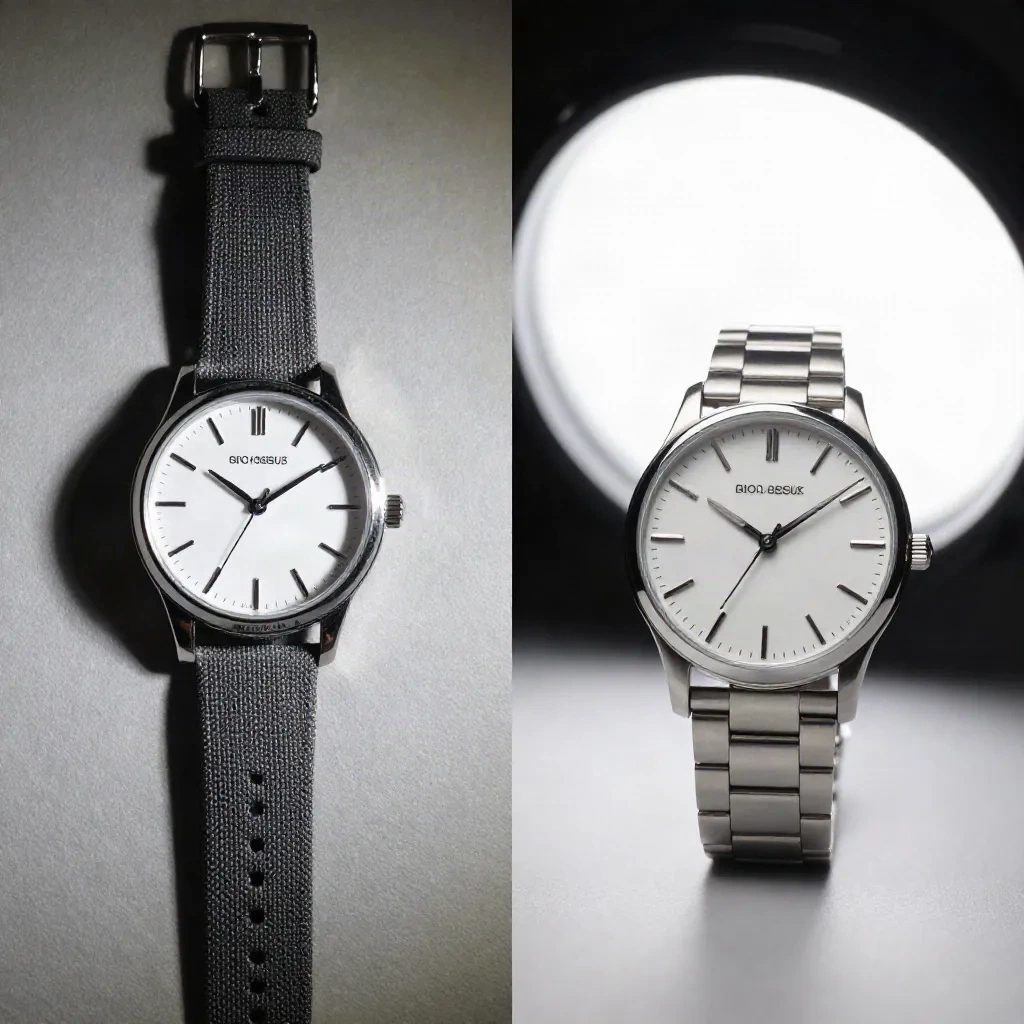
For reflective products including glass, jewelry, and polished metal, a light tent controls reflections better than any three-point arrangement. Harsh directional light on a watch crystal creates blown-out spots that post-processing can reduce but rarely fully corrects. The tent wraps the product in even, directionless light that eliminates glare at the source.
The practical question before buying gear: does your product need directional light to reveal texture and shape, or do you need shadowless illumination to avoid distracting reflections? The answer determines whether you need a softbox setup or a light tent.
Softbox, LED panel, or ring light: where each one wins
A softbox is the default recommendation for most product categories. It produces soft, directional light that reveals texture without harsh shadows. A 60x60cm unit gives enough spread to cover most packshots without creating hotspots. Works best on matte surfaces, textiles, food, ceramics, and most packaged goods.
LED panels are compact and portable. Bi-color versions let you shift between warm and daylight output. The tradeoff: a flat LED panel without a diffuser produces harder light than a softbox of similar wattage. If you use a panel, bounce it off a white wall or attach a diffusion sheet. Without that step, the small emission area concentrates light in a way that creates harsh shadow lines on nearly any product.
Ring lights work for beauty and macro photography where circular catchlights are a deliberate aesthetic choice. For most product categories, the even, shadow-free output of a ring creates a flat result that loses depth and texture. A softbox with a fill reflector handles almost every situation where a ring seems like the right tool, with better-looking output on shelf goods.
A note on budget ring lights specifically: units priced below $40 often carry a CRI below 75. At that level, color rendering is poor enough to cause post-production headaches on any color-sensitive category. If you already own one, use it for social content where close-enough color works. Do not build your listing photos around it.
Color temperature and CRI: the two numbers that matter
Color temperature is measured in Kelvin. For product photography:
3200K: tungsten-warm, suited to food and lifestyle shots where warmth reads as inviting
5000-5500K: balanced daylight, accurate color for most product categories
6500K: cool and blue-shifted, appropriate for water, ice, or clinical product contexts
Set your camera's white balance to match the Kelvin rating of your light. If you shoot in auto white balance under artificial light, the camera makes a different guess on every frame. That produces inconsistency across a batch that is time-consuming to correct.
CRI (Color Rendering Index) measures how accurately a light source renders color compared to natural daylight, on a scale from 0 to 100. A CRI of 95 or above means the color visible under that light is very close to how it looks in sunlight. A CRI below 80 can shift reds toward orange or make whites appear yellow. The shift is subtle enough to miss on a phone screen but visible to a buyer on a wider-gamut display.
Most entry-level LED lights ship with a CRI of 80 to 85. Moving to CRI 95 or above adds roughly 30 to 50% to the unit price, but reduces post-correction time and lowers the rate of color-mismatch returns. For any category where color is a purchase decision, including clothing, ceramics, cosmetics, and paints, CRI above 90 is worth the cost differential.
This is the upgrade to make before a better camera, before a backdrop stand, before a more capable lens. A high-CRI light at $40 more improves every photo you take. A better camera with a CRI 80 light still produces color-inaccurate images that generate returns.
What AI transformation fixes after a bad shoot, and what it does not
The honest answer here matters: some lighting problems have a ceiling on what post-processing can recover. A blown highlight on a glass surface, deep shadow detail loss on a dark product, or a severe color cast across 60 images all require significant correction time and produce uneven results even when fixed.
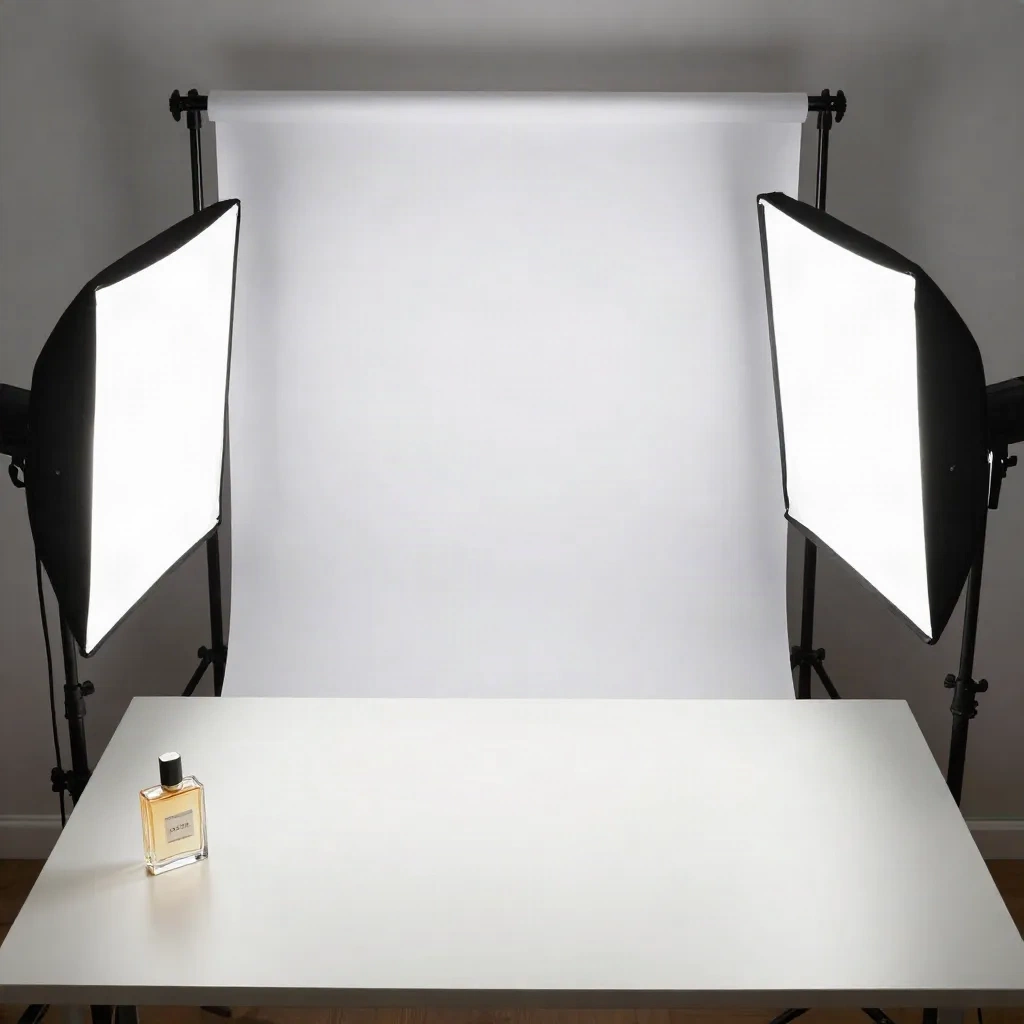
Before: a set of product photos shot under mixed lighting with inconsistent color temperatures, where some frames lean warm and others lean cool across the same batch.
After Style Alchemy: a uniform tonal treatment applied across the batch that brings the color rendering into alignment. The shots read as a coherent collection in a product grid rather than a set of individual corrections.
What AI transformation handles reliably is ambient color consistency and scene-level adjustments. Photospells' spells apply treatments at the batch level, which is exactly the problem that inconsistent product photography lighting creates. Season Swap can shift a product background from a flat, neutral grey to a warmer daylight-adjacent tone when the original shoot ran cold.
What it does not fix: blown speculars on reflective products, shadow detail that was never captured in the first place, or geometric distortion from a badly positioned key light. Those require a reshoot or a deliberate decision to use the artifact as part of the composition.
Cast it when you have a batch with a consistent ambient problem you have correctly identified. Do not cast it expecting it to substitute for a lighting setup that is broken at the source.
The actual starting setup for under $200
Two 45cm LED softbox lights on adjustable stands, bi-color 3200K to 5600K, CRI 95 or above: around $80 to $120 for a two-light kit. Add a white foam reflector board ($5), a white or light grey paper backdrop roll ($20), and the camera you already own with manual white balance control.
Set both lights at 45 degrees either side of the product. Match the color temperature to 5000K. Set the camera white balance to 5000K. Use the reflector board on the shadow side to reduce depth without fully eliminating shadow definition.
That setup handles packshots for most product categories at a quality level that reads as professional in any listing grid. It is repeatable, consistent across sessions, and gives you a known baseline when you decide to bring AI transformation in on a batch.
What stops most sellers is not missing equipment. It is not knowing which problem to solve first. The right arrangement of $150 in gear outperforms expensive equipment pointed at the wrong angle. Fix the setup, then decide whether AI transformation handles the rest.