Product Photography Ideas That Work for Etsy and Shopify
Summary
Seven practical product photography ideas for Etsy and Shopify sellers who shoot without a studio. Covers flat lays, context shots, color drenching, macro detail, and lighting fixes, plus where AI background transformation fits into a seasonal refresh workflow. Each technique includes a setup time estimate and at least one documented limitation. Best applied in batches rather than one shot at a time.

Getting more product photography ideas into your workflow is the difference between a listing that scrolls past and one that stops the thumb. The seven approaches below come from real one-person shop setups: no studio, no photography degree, no assistant. Each one has a defined use case, a setup time, and at least one honest note on where it stops working.
Why Most Product Photos Lose the Sale Before Anyone Reads Your Listing
Buyers decide whether to read your copy in under two seconds. In that window, your photo does the entire job.
On Etsy and Shopify, the hero image is the only asset that appears in search results and feed previews. Every other element comes after the click. If the photo signals "shot on a kitchen floor with bad lighting," readers never arrive.
The practical consequence: a technically decent product photo outperforms an excellent product description. You can fix copy in ten minutes. Regaining trust after a weak first impression takes listings, reviews, and time.
Three things kill conversion before the click: flat overhead light that erases texture, background clutter that competes with the product, and inconsistent framing across your catalog. Fix those three first. Then layer in the ideas below.
Flat Lay: The Shot That Works in Every Niche
The flat lay, shot from directly above, is the most versatile format in product photography. It works on candles, jewelry, skincare, ceramics, textiles, and food. The composition is predictable, the setup takes roughly 15 minutes, and the result reads well on mobile where most buyers first encounter your listing.
The setup that moves the needle: one background texture (marble tile, linen cloth, kraft paper), two to three props that share a color family with the product, and natural light from a window on one side. Shoot at 90 degrees overhead with your phone or a mirrorless camera on a tripod arm.
One thing that consistently underperforms: shooting flat lays with direct overhead artificial light. The shadows go where you do not want them, and every surface looks equally important. Natural light from a window, diffused through a thin curtain if needed, solves this.

Works best on: candles, soap, ceramics, jewelry, small homeware. Where it fails: anything that needs height to read well, such as perfume bottles, boots, or tall containers.
Context Shots: The Image That Answers the Unasked Question
A context shot shows the product placed in its natural environment. Not a full lifestyle photoshoot with models in a sunlit kitchen, but a simple "candle on a bedside table" or "notebook next to a coffee cup" type frame.
These shots answer the questions buyers never type into Etsy search: how big is it really, what does it look like in a real space, will it work in my apartment. When a buyer cannot answer these questions from your images, they move to a competitor who can.
The fastest way to produce context shots without a full location setup: buy two or three props that match your product aesthetic, set them up near a window, and photograph them together. In practice, this takes about 20 minutes to set up and produces three to five usable frames.
The honest limitation: context shots require at least one prop that matches your brand. If you sell minimalist goods and shoot on a cluttered kitchen counter, the context works against you.
A context shot is not a lifestyle campaign. It is a practical answer to "where does this live in my home." That is all it needs to do.
Color Drenching: One Decision That Changes How Premium Your Product Looks
Color drenching, matching your background and props to the dominant color of your product, creates a single-hue image that reads as intentional and considered.
The effect is particularly strong for skincare, beauty, and home fragrance. A dusty rose candle on dusty rose linen, with a few small dried flowers in the same palette, signals curation. The same candle on a plain white background signals "I have a candle for sale."
The practical setup: find the dominant hue in your product, source a paper, fabric, or foam board in that color family, and keep props to a minimum. Two props maximum, in the same hue. The goal is monochrome tension, not a color explosion.
Where it fails: products with multiple distinct colors, such as geometric print textiles or multicolored ceramics. Color drenching works best when the product has one clear dominant tone.
Lighting: The Variable That Costs Nothing to Get Right
Most product photography problems are lighting problems. Before buying any equipment, fix the light you already have access to.
Natural window light, positioned to the side of the product rather than above it, creates directional shadow that adds depth. Shooting within two hours of sunrise or two hours before sunset gives you warm, low-angle light that makes textures visible and surfaces look considered.
If you are shooting mid-day with harsh overhead sun: diffuse it. A white sheet or thin muslin curtain over the window brings the contrast down without eliminating the direction.
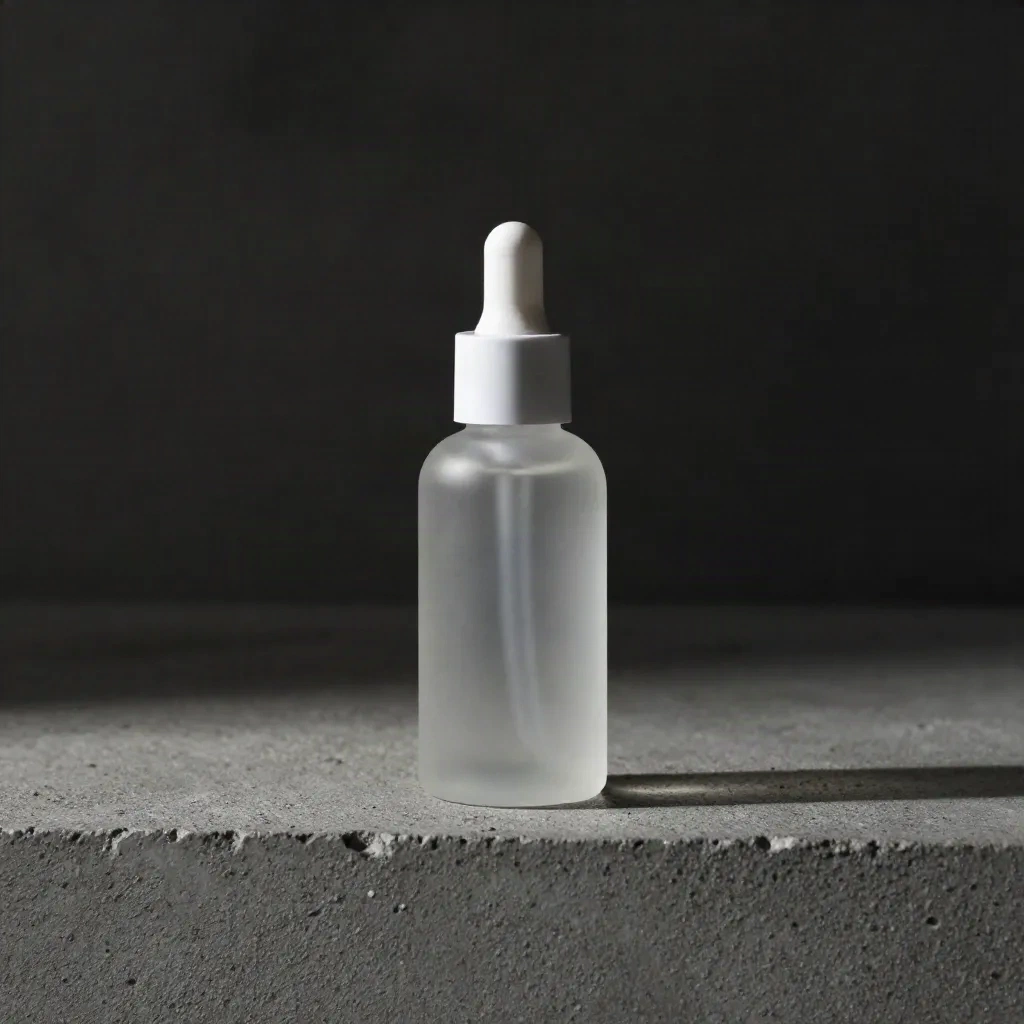
One reflector, a piece of white foam board from any stationery shop, placed on the shadow side of your setup fills in shadows without a second light source. This takes 30 seconds to place and produces a noticeably cleaner image.
What a 500 dollar ring light does not fix: bad composition, cluttered backgrounds, or shooting in the wrong hour. Light quality matters. Light direction matters more.
Macro Details: The Shot That Proves What You Are Selling
A close-up detail shot showing the texture of a fabric, the brush strokes on a painted surface, or the grain of a wood piece serves a specific function: it proves the quality claim your listing description makes.
If your copy says hand-stitched, small-batch, or cold-pressed, a macro detail shot makes that claim visible rather than asking buyers to take your word for it.
For most phone cameras: use portrait mode within 10 centimeters of the surface to force a narrow depth of field. The subject, the texture or the stitch, should be sharp. The background should fall out of focus. This communicates quality without needing a dedicated macro lens.
Limit macro shots to one or two frames per listing. Their job is to support the hero image, not replace it. A catalog that is all close-ups with no context reads as incomplete.
What AI Background Transformation Changes in This Workflow
The five approaches above require physical setups: props, light, time, sometimes a second location. AI background transformation removes the setup time on backgrounds specifically.
The practical difference: you shoot the product once, on any clean surface, and then place it into a generated background without physically building that scene. A summer hero image becomes an autumn scene. A product shot on white becomes one placed in a textured interior. A candle photographed in spring appears on a wooden shelf surrounded by pine and snow in November.
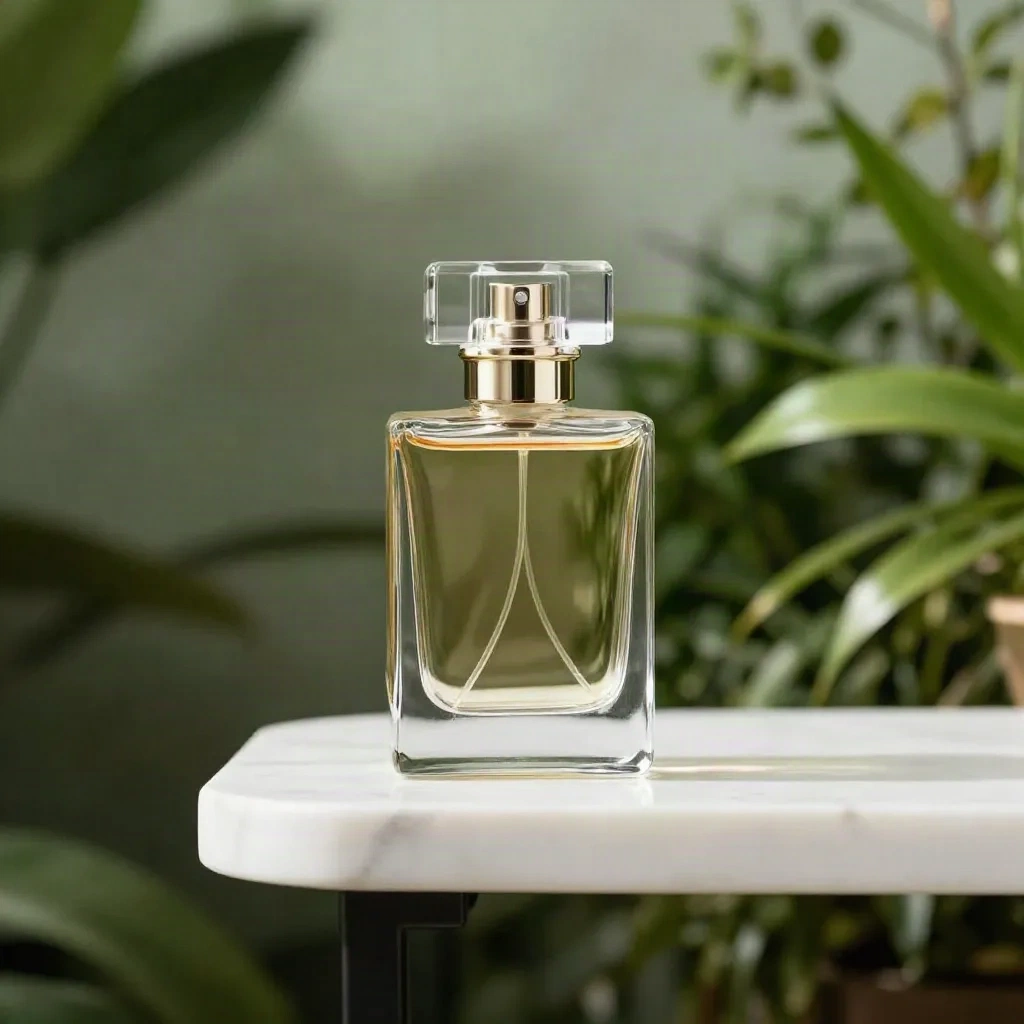
Where this fits in the workflow: it does not replace flat lays, context shots, or macro details. Those shot types need the actual product in frame with intentional composition. What it replaces is the physical background setup for the hero image and the seasonal refresh. If you have 38 listings to update before a seasonal peak and four days to do it, AI transformation handles that in minutes per image rather than per reshoot.
Where it struggles: products with complex reflections and translucent surfaces. A clear glass bottle needs the generated background to refract correctly through the glass, and current AI models do not always handle this convincingly. Test one image before committing to a full batch.
Seasonal Refresh Without a Reshoot
One underused product photography idea: scheduling a batch refresh of your hero images at the start of each season without rebuilding every setup from scratch.
Buyers browsing in October respond to autumn aesthetics. The same product with a warm, leaf-and-linen context converts better in that window than the same product shot in a spring palette. This is documented behavior across Etsy top sellers: seasonal listing images outperform evergreen hero shots during their corresponding search periods.
The constraint for a one-person operation: you cannot reshoot 40 products four times a year. That is the specific workflow gap that AI background transformation addresses. Shoot once with good light and a clean surface. Rotate backgrounds seasonally without a studio.
In practice, this means one strong original shoot per product, plus three to four AI-generated seasonal variants per year. Setup time for the original: 20 to 40 minutes per product. Setup time for each seasonal variant: under five minutes per image.
Which Shot Format Performs on Instagram, Etsy, and Shopify
Different platforms have different visual requirements. What works on Instagram feed previews is not always what converts on a Shopify product detail page.
On Etsy: square format (1:1) or portrait (4:5) performs best in the main listing slot. Lifestyle context shots outperform plain white-background images when buyers are in browse mode. Buyers on Etsy expect human curation signals: props, texture, a sense of occasion.
On Shopify and direct-to-consumer stores: a white or light neutral background in the hero position answers the first question (what is this, exactly), while lifestyle shots in secondary positions answer the second question (how does it fit my life). The order matters. Swap them and your bounce rate shows it.
On Instagram and TikTok: color, contrast, and context beat product detail. The rule is whether the image stops the scroll in a busy feed. A highly detailed macro shot performs poorly here because it does not communicate context at a glance. A color-drenched composition with strong contrast communicates instantly.
Knowing which format you are optimizing for before you pick up your camera or open your AI tool saves reshooting the same product three times for three platforms.