Ghost Mannequin Photography: Workflow, Cost and AI Limits
Summary
Ghost mannequin photography is a two-pass apparel shoot: you photograph the garment on a form, photograph the inside of the neckline, then merge them so the clothing looks worn by an invisible body. Manual editing takes roughly 4 to 10 minutes per garment. AI tools cut that to seconds on simple pieces but can invent interiors on sheer, lined or patterned fabrics. This guide covers the shoot, the edit, costs and a repeatable batch workflow.
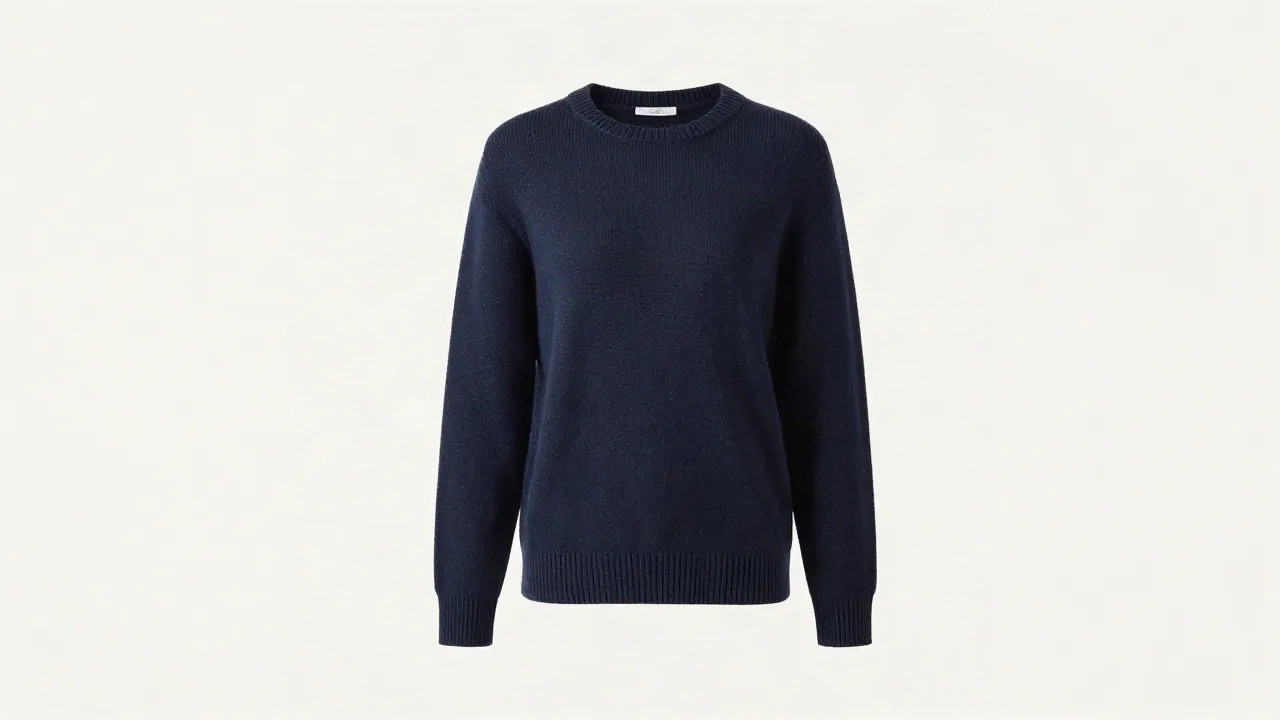
Ghost mannequin photography is a two-pass shoot: you photograph the garment on a form, photograph the inside of the neckline separately, then merge the shots so the clothing looks worn by an invisible body. It takes about 4 to 10 minutes of editing per garment by hand, and it is the format marketplaces and shoppers read as "real product, real shape". Here is the full workflow, where AI shortcuts it, and where it still fails.
What does ghost mannequin photography actually deliver?
The effect gives a garment volume without a body in the frame. Shoulders sit square, sleeves hold their shape, and the hollow neckline shows the inside back of the collar and the label.
Flat lays are quick but they hide fit. Model shoots show fit but cost a casting, a day and a retoucher. Ghost mannequin sits between the two: one consistent look across a catalog, no model variance, and a silhouette a shopper can judge.
That consistency is the real reason sellers choose it. When 60 listings share the same framing, the store reads as one brand instead of 60 separate experiments.
The shoot: what you need before you press the shutter
You do not need a studio budget. You need repeatability.
A form that fits the garment. A dress form or torso mannequin in a neutral color. Pin or clip excess fabric at the back so the front drapes cleanly.
A tripod and a locked frame. The two passes must align to the pixel. Mark the floor, do not touch the focal length, shoot in manual.
Soft, even light. Two softboxes at 45 degrees, or a large window with a white reflector. Hard shadows inside the collar are the hardest thing to fix later.
A white or light grey backdrop. It keeps the cutout clean and the exposure predictable.
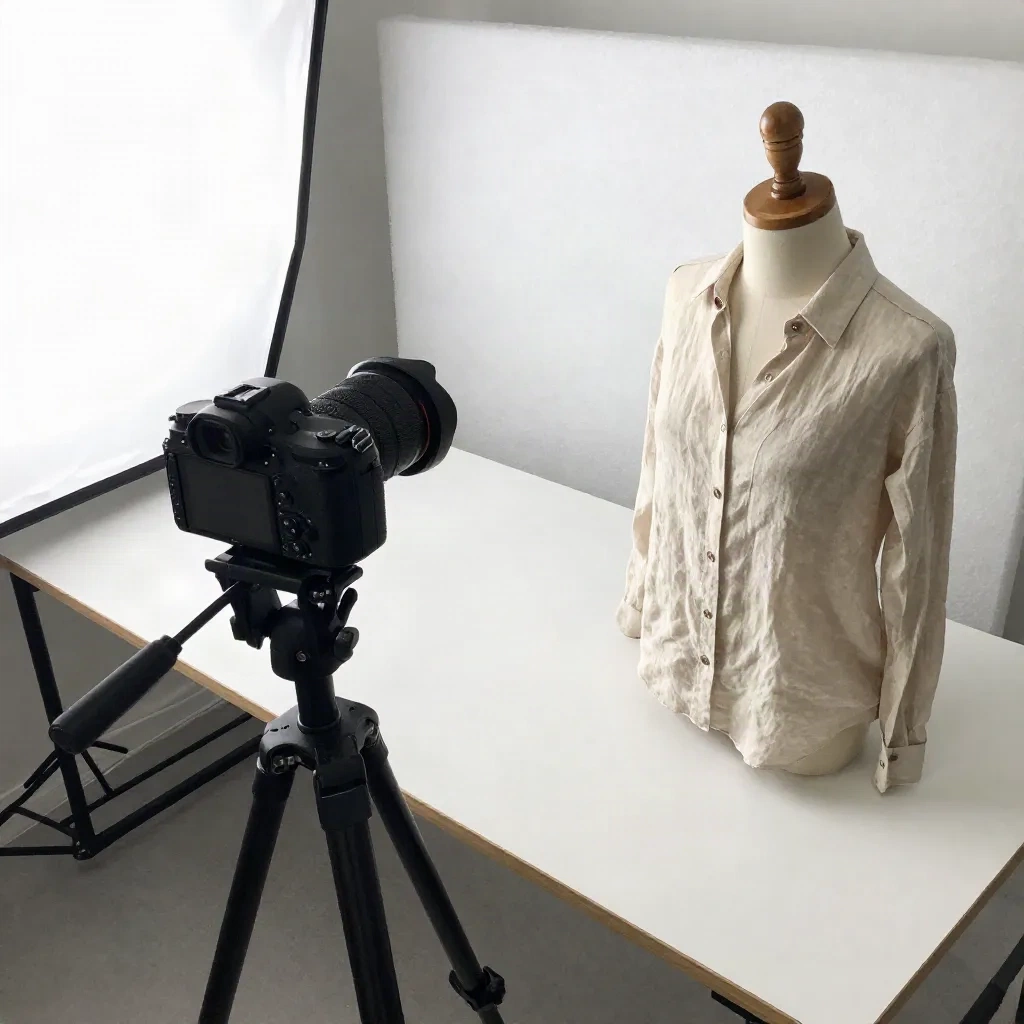
The image above shows the whole kit: camera locked on a tripod, form dressed, foam board ready for the second pass. Nothing exotic.
Pass one and pass two: how the two shots work
Pass one is the garment on the form, fully styled. Steam it first. Wrinkles you leave in the shot become hours of cloning later.
Pass two is the inside shot. Remove the garment, turn it inside out at the neckline, and hold the back of the collar open with a foam board or a clip so the inner back and label show. Keep the camera exactly where it was.
In editing, you cut out the form from pass one, then place the inner-back area from pass two behind the neckline. The hollow reads as depth because it shows real fabric, not a flat fill.
Skip the shortcut of painting the inside with a gradient. It reads as fake at 100 percent zoom, and shoppers zoom.
How does the editing step work in practice?
The classic route is Photoshop: a clean cutout, a layer mask, the inner-back layer placed behind, then a warp to match the neckline curve and a shadow pass to restore depth. In practice, that is 4 to 10 minutes per garment once you have a template, and much longer without one.
Most guides stop at the Photoshop steps. BigCommerce's ghost mannequin guide is a good reference for the manual method if you want the layer-by-layer version.
The part most guides skip is batch consistency. If you edit 40 garments over three days, your shadow strength drifts. Save the shadow layer as a preset and reuse it, or your catalog will look like it came from three different photographers.
Where does AI ghost mannequin help, and where does it break?
AI tools now take a single garment photo, remove the form or hanger, and rebuild the hollow interior. Cast it when you have simple, structured garments, a clean background and a hundred SKUs to push through.
Works best on t-shirts, hoodies, shirts, structured jackets, plain knits. The silhouette is predictable, so the model's guess about the inside back is usually right.
Where it struggles: sheer fabrics, lace, heavy patterns that must line up across the neckline, and anything with a visible lining. The model invents the inside, and an invented inside can show a pattern that does not exist on the real garment. That is a returns problem, not a cosmetic one.
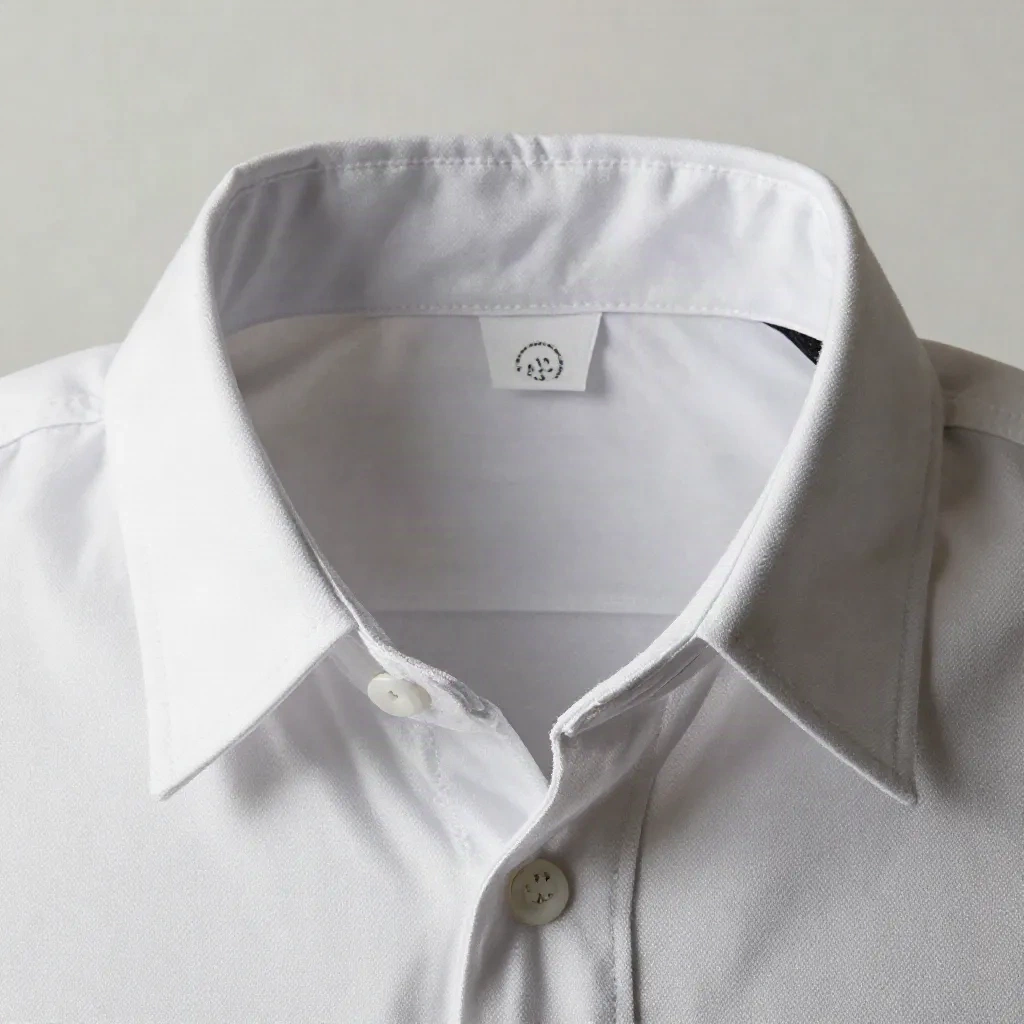
Look at the neckline above. That inner back panel and label area is exactly what the tool has to get right. If the inside shows a color or texture the real garment lacks, you have created a listing that misleads.
The rule I use: let AI do the cutout and the shadow, and keep the inside shot real for anything where the interior is visible and distinctive. You keep the speed and you keep the honesty.
Manual, outsourced or AI: what does each route cost?
Prices vary a lot by vendor, and nearly every public number comes from someone selling a service, so treat all of them as directional. Roughly, outsourced retouching for ghost mannequin sits from about one dollar to a few dollars per image at volume, with higher rates for complex garments. AI tools usually land under two dollars per image and often far below.
The cost that rarely shows up is rework. A fast tool with a 30 percent redo rate on knits is slower than a patient editor.
Run a pilot before you commit: pick your 10 hardest garments, push them through both routes, and count the redos. That number tells you more than any vendor page.
Manual in Photoshop: 4 to 10 minutes per garment. Best for luxury, patterned and lined pieces. Weak spot: time, and shadow drift across batches.
Outsourced retouching: 1 to 3 days turnaround. Best for large one-off batches. Weak spot: brief clarity and revision loops.
AI tools: seconds per image. Best for simple, high-volume SKUs. Weak spot: invented interiors and sheer fabric.
Which marketplace rules should you check first?
Check the image rules for each channel before you shoot, not after. Most major marketplaces ask for a clean, light background and the product filling most of the frame, and some apparel categories have specific requirements for how the garment is presented.
Amazon, Etsy and Shopify themes all treat the first image differently. The first image is usually the ghost mannequin front shot. Later images can be flat lays, detail close-ups and, if you have them, on-model shots.
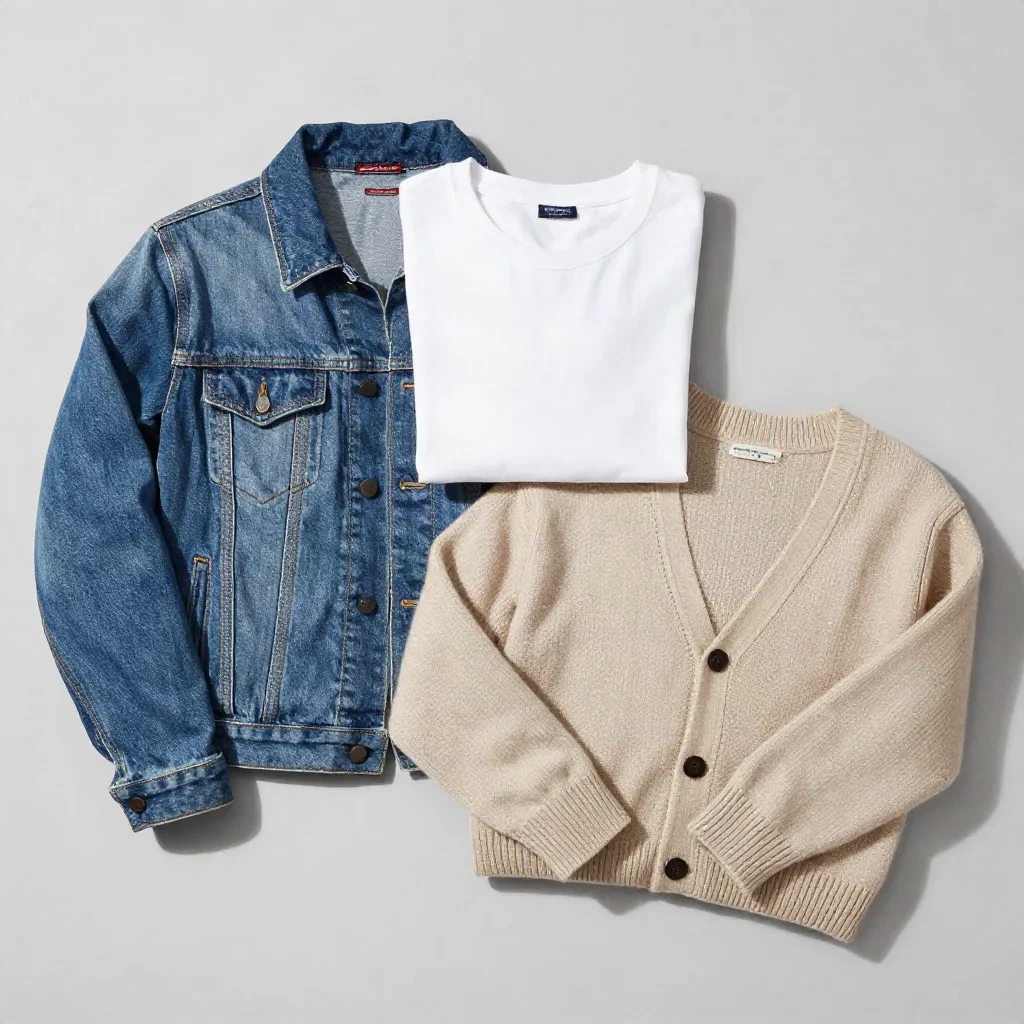
Flat lays like this one still earn their place as secondary images. They show fabric weight and color accurately, and they cost one minute each.
What does a repeatable 20-garment workflow look like?
Here is the version that holds up on a normal week.
Steam and stage in one batch. Do all steaming first, then all shooting. Switching tasks costs more time than the tasks themselves.
Shoot both passes per garment before moving on. Front on the form, then the inside shot. Do not postpone the second pass; you will forget which garment is which.
Name files by SKU plus pass.
SKU123-front.jpg,SKU123-inner.jpg. It removes the matching problem in editing.Run AI or a template on the simple garments first. Save the hard ones for manual work with fresh eyes.
Review at 100 percent zoom. Check collar edges, sleeve openings and hem shadows. Fix or reshoot.
Export one master size, then derive the rest. One source file, then marketplace crops.
In practice, a batch of 20 simple garments is an afternoon for the shoot and a morning for the edit, and the AI route compresses the edit to under an hour. The shoot is the part nobody can skip.
What are the mistakes that quietly cost sales?
Most failures are not dramatic. They are small inconsistencies that make a store look careless.
Uneven shoulders. The form is crooked or the garment slid. Fix it before shooting, because warping fixes in post look rubbery.
A flat, empty neckline. Skipping the inside shot makes the collar look like a cutout. Shoppers sense it even if they cannot say why.
Inconsistent shadows. Different drop-shadow strength between listings is the tell of a rushed catalog.
Over-smoothed fabric. Aggressive AI cleanup erases texture. A wool knit that looks like plastic gets returned.
Color shifts. If the AI step changes the hue, customers get a different color than they ordered. Compare to the physical garment under daylight.
The question that matters is not whether the image looks clean. It is whether the customer who opens the box recognizes the garment.
Should you shoot it yourself or outsource it?
If you sell fewer than 30 garments a season, do it yourself and build a template. The learning cost pays back fast, and you control the look.
If you sell hundreds of SKUs with frequent drops, a hybrid works best. Shoot in-house for speed and control, then use an AI tool or an outsourced retoucher for the cutout and inner fill, with manual review on the hard pieces.
Whatever you choose, document it. A one-page checklist with your light positions, camera height and file naming turns a fragile process into a routine, and a routine is what keeps your catalog consistent when you hire help.
Skip ghost mannequin if your pieces are mostly drapey, fluid or heavily layered. A flat lay or an on-model shot will serve them better than a stiff hollow form.